

Garage Door Spring Adjustments: Garage doors can open or close too quickly, slam shut at the wrong speed, or close unevenly by leaving a gap between the door and its opening. If this is the case, you may need to fix your door. This means that its springs need to be checked. Garage door springs can be adjusted if you are the know-how. You can solve this problem on your own if you have the know-how.
However, the style of the door you have will determine whether or not you have a simple fix on your hands or a more complicated one. The type of springs in the door you are using can depend on which one you have. Look at this video before we go on and talk about them. To watch, you’ll have to spend less than a minute of your time, but you’ll know a lot about adjusting the springs on your garage door after going through it. So it will also be easy to understand the steps below.
First, you should check the Garage Door at Springs
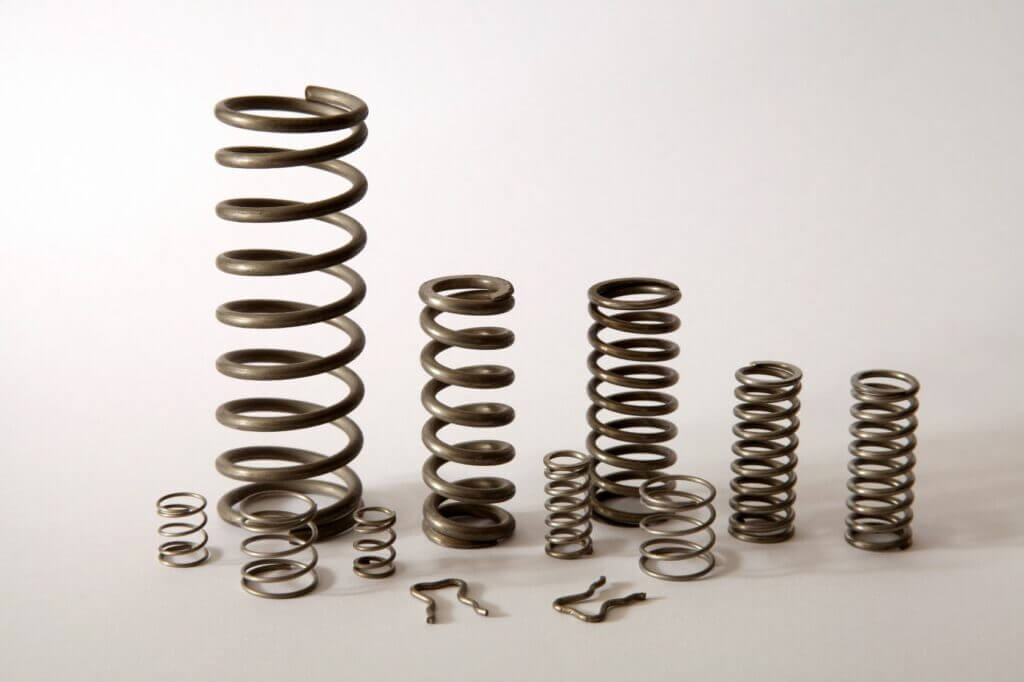
Know what kind of Spring you are going to deal with. Two types of springs on garage doors: torsion springs and also side-mounted springs. Torsion springs move the door up and down. There are two ways to figure out which of the two is responsible for making your door lighter.
Springs that are on the side
Some people call them extension springs. They’re on both sides of the door and help the door open and close. It’s easy to see them above the tracks that go down. When you open the door (either with a motor or by hand), these springs move to balance the door.
Most of the time, side-mounted springs are paired with safety cables. There are cables on these bikes that keep the spring from being dangerous if a cable, spring, or bottom bracket breaks down. These accidents can happen anytime, so all extension spring doors must have safety cables. Furthermore, your door may use one of the following three extension springs, depending on the kind of door:
Looped:
Open-looped extension springs are the simplest to replace, albeit they aren’t as robust as the other varieties. They don’t need you to disassemble their pulley to change the Garage Door springs.
Double Looped:
Double-looped springs have two coils. Pulley: One is connected to the pulley. Eyebolt: The other is connected to the eye bolt. They are more durable than their open looped counterparts, but they aren’t easy to change.
Clip Ends:
Extension springs with clip ends are the most durable. They have a very long shelf life, which makes them very useful. People use them because the clips don’t put a lot of stress on the garage door spring. That lets the spring keep working with very little damage.
Torsion Springs
Torsion springs are different from side-mounting springs, which use ‘extension’ to raise garage doors. This force is the same thing as a linear force differently. As with linear force, you can think of torque in the push and also pull.
Torque moves the object in a circle around its axis. These springs use torque to open and close your garage door. They’re above and also parallel to the frame of your door. They are attached to a metal shaft that stays in place. One end of the garage door springs is attached to a metal plate right on the door frame.
Standard Torsion Spring:
It says so in their name: standard torsion springs are the most common type of torque springs to use. You can see them on the tops of the doors of residential garages. People get a metal shaft in their package. It holds the springs.
Torsion Spring by Torque Master:
To get the best torque master torsion springs, you should spend extra money. Because the torsion shaft keeps the springs inside at all times, there is little chance that the spring will break off and become a projectile. They are the safest choice.
Guide to Garage Door Spring Adjustment Step by Step
You can adjust the springs on your garage door by following these steps.
Step 1: Gather your materials
There are some things you’ll need to do this job, like personal protective equipment (PPE) and also some simple tools. You’ll need a hard hat, safety glasses, and gloves for safety.
- Sturdy ladder
- Adjustable wrench.
- C-clamp
- Masking tape or marker
Step 2: Fully open your garage door
Before you try to change the tension of the springs, you need to let them loose. If you have a manual door, keep opening it until it can’t go further, run into the stop bolt, and then shut it. In other words, if you have an automatic door, you can open it with the remote control that comes with the door.
Pull the emergency cord below and also back to keep the door open after fully opening. This will break any connection between the door and the opener, and the garage door springs will be able to let go of the pressure they were under. People afterward can also open the door by hand.
Step 3: Anchor Your Garage Door
During your work on its springs, make sure that the door doesn’t fall. Putting a C-clamp under the bottom roller is the best way to make sure that doesn’t happen. The C-clamp will keep the roller from moving.
Step 4: Remove the Garage Door Spring Hook
As you attempt to eliminate the spring hook, you’ll see a big hook that connects it to the hanger on the track. This bigger hook, in turn, is held in place by a nut. A wrench with a long handle will help you get the nut off and, by extension, the spring hook. We were hoping you could remove the spring hook because it is important for keeping the spring in place. Once you get rid of it, you can move it to a higher or lower hole to change the amount of tension.
Step 5: You can change the tension of the spring
You might have to lower the tension on your door spring. A lower hole on the track hanger will let you do this. You can do this by attaching the spring hook to that hole. However, if your door opens or closes too easily, you’d have to tighten the spring. When you put the spring in its track hanger, please put it in the hole that’s a little higher. If the door was closing unevenly, the best thing to do might be to lessen the tension on the side of the gap.
Step 6: Change the Tension of the Cable
Extension springs come with safety cables, as we said earlier. You may need to change the cable’s tension and the spring to solve the problem. If you want to tighten the cable, you can shorten it by tightening the knot that connects it to the spring. If you want to make it less tight, you can make it longer by loosening the knot.


